Vases & More in Fusion 360
Tools used in Fusion 360
For this project new tools need to be used in Fusion 360 to be succesful. Last week we learned the basics of how to use Fusion 360 and making simple skethes and extruding them, but for this week things are more complex. This week 2 projects are going to be made first off a planter will be designed in Fusion 360 using the fundamentals learned last week, and some new features, then the design will be taken from Fusion 360 into prusa slices and sliced using a special setting called vase mode which allows it to be printed in a specicific way. In addition to that we then designed a watering can using more new tools taught to us.
Going through all the new tools taught to us. Starting off we learned the circular pattern tool, which is very similar to rectangualar pattern tool. What it does is it takes a sketch profile and repeats it following a cirle around a point or axis. Following that we learned the fillet tool which curves the edges to our designs making them smooth instead of sharp. We also learned the shell tool which hollows out an 3d object either entirely or by also removing one side allowing the user to set the thickens of the walls of the hollowed out model. We also learned how to make offset planes. Offselt planes let us make new constuction planes to work on like the original xy, xz, and yz planes, that reference another point or plant, to build off of. There is a variety of offset planes that can be made for example planes tangential to an curve, perpendicular planes, parallel planes, planes at angles to a reference line and so forth. This allows for the creation of more complex projects in 3d space.
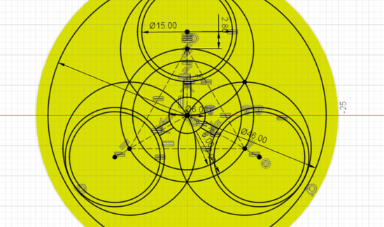
In addition to that we learned how to fully define our sketches. For a sketch to be fully defined means that no part of it can be moved without altering a constraint. This makes it easier to work in 3d projects and sclale designs since everyhting is fully defined you cannot make any adjustments later in the project that will mess up or alter something you initially worked on.
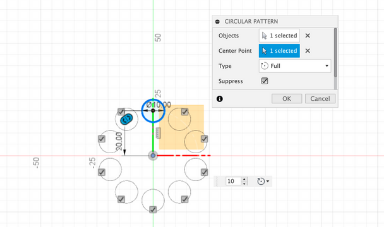 Circular Pattern
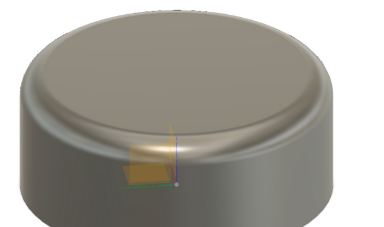 Fillet Tool
 Shell Tool
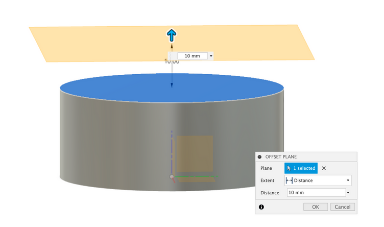 Horizontal Offset Plane
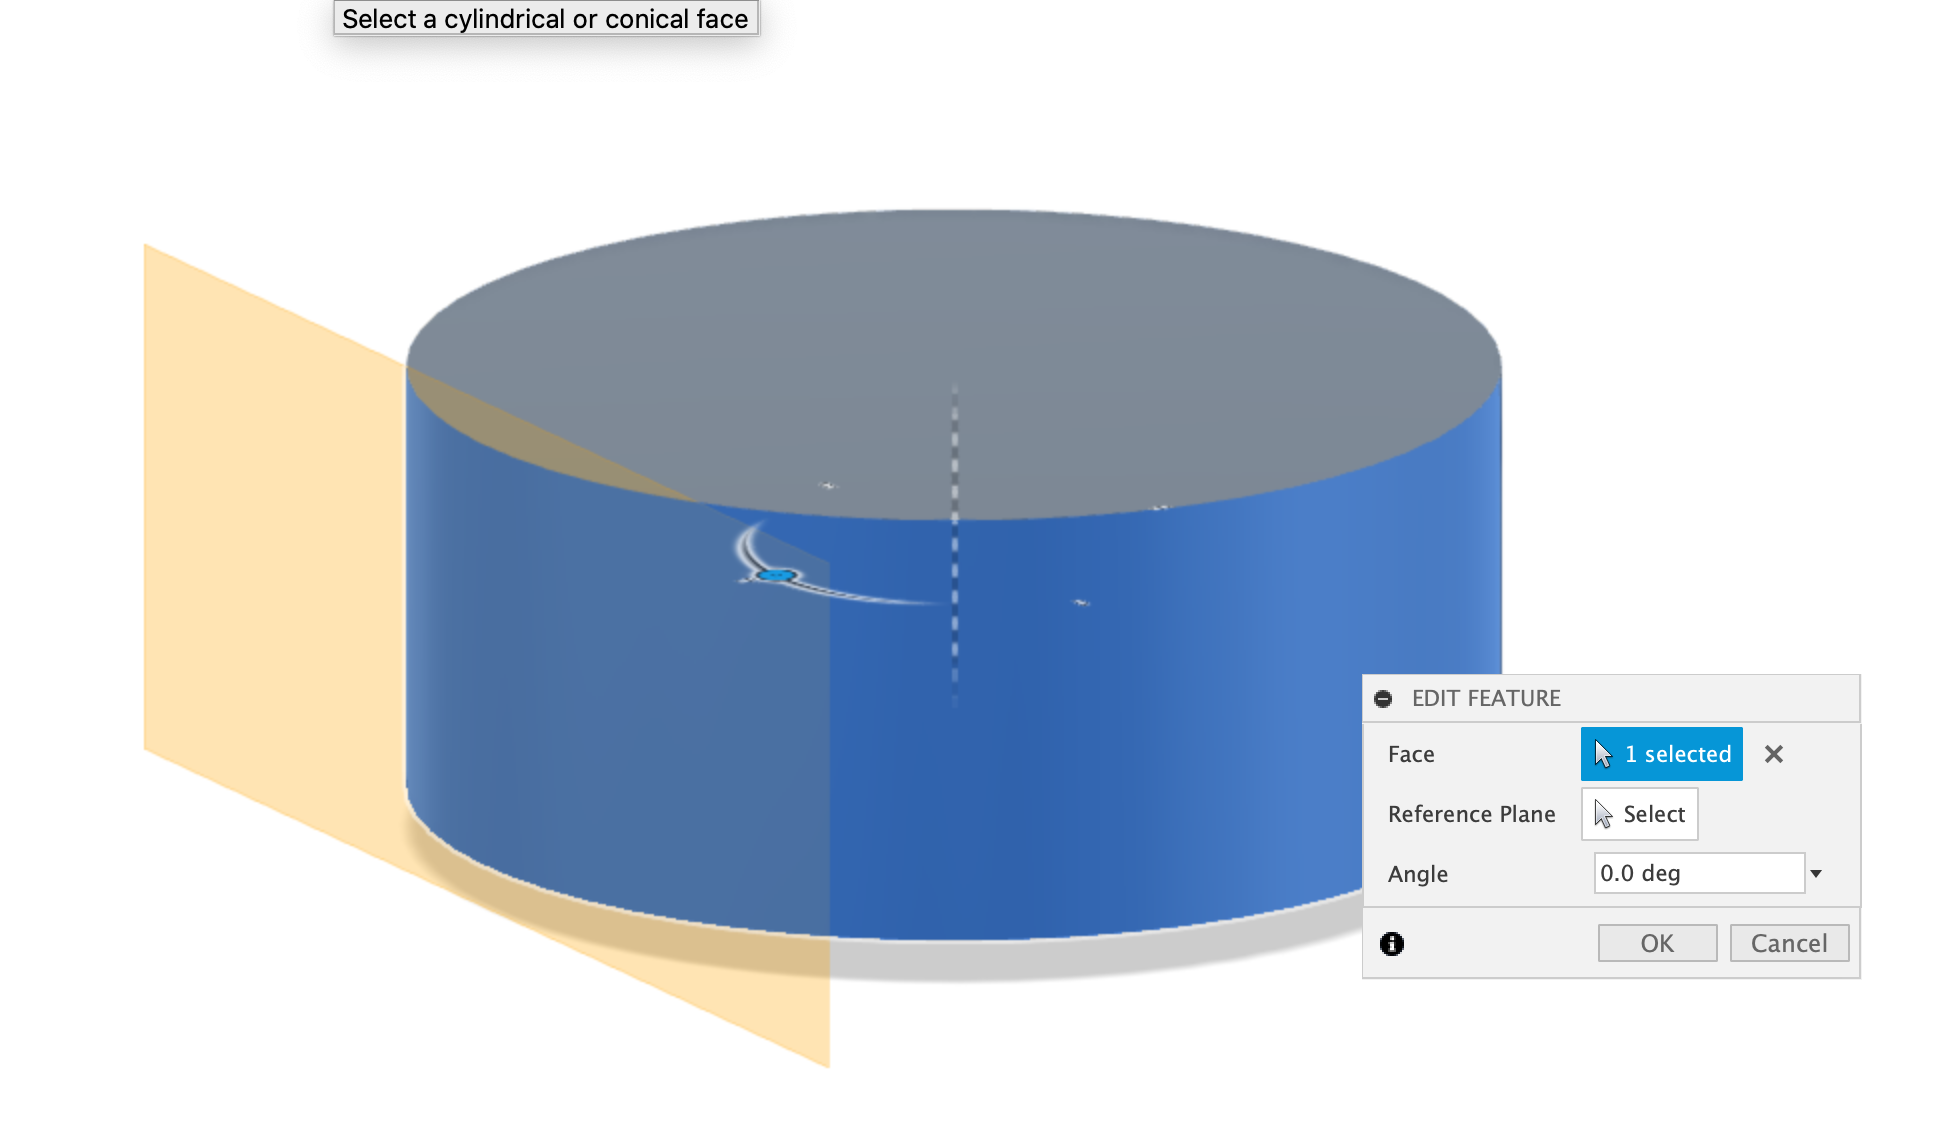 Tangential Offset Plane
 Fully Defined Sketch
Making a Vase in Fusion 360
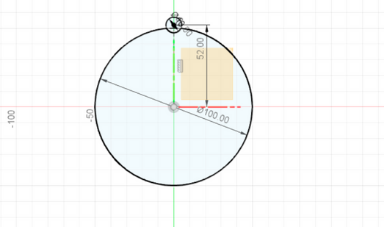
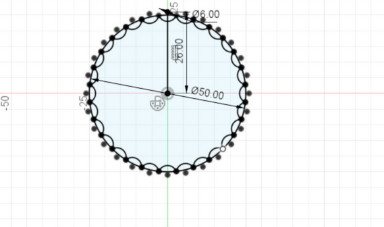
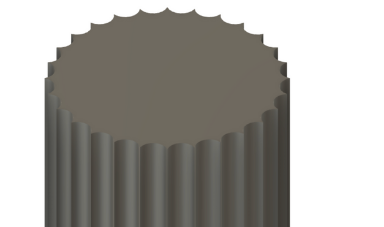
Making the vase itself was a very simple task to do. Started off by making an initial base circle then adding a second circle near the edge. The trim tool was then used to cut the circle to the intescetion point wioth the larger cirle. The circular pattern tool was then used to repeat the trimmed circle arround the large base circle. Following then the design was extruded upwards. This was then saves as an STL to be used in prusa slicer to turn into vase mode. Continuing on Fusion 360 though I then shelled the vase clicking on the top profile to hollow out the vase and remove the top. Then I filleted the top edge to smooth it out, making the final vase.
Making the vase itself was a very simple task to do. Started off by making an initial base circle then adding a second circle near the edge. The trim tool was then used to cut the circle to the intescetion point wioth the larger cirle. The circular pattern tool was then used to repeat the trimmed circle arround the large base circle. Following then the design was extruded upwards. This was then saves as an STL to be used in prusa slicer to turn into vase mode. Continuing on Fusion 360 though I then shelled the vase clicking on the top profile to hollow out the vase and remove the top. Then I filleted the top edge to smooth it out, making the final vase.
 Using VS Code as my choice of IDE
 Cloning Repository from GitHub
 Extruding the Vase
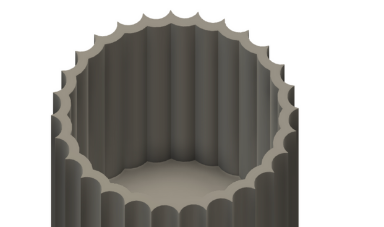 Shell Tool
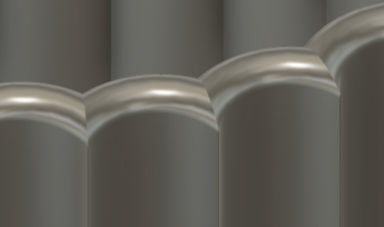 Fillet Tool
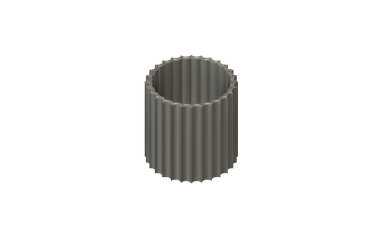 Completed Vase
Vase Mode in Prusa Slicer
Taking the file exported from Fusion 360 was then imported into Prusa Slicer. No supports or brim is needed fro the print, and prusa Slicer and Fusion both work in mm, so no values have to be changed when importing. That means all that was left to do was activate vase mode, slice the model, export the gCode and print it. I did this with ocotoprint since I was lazy and did not want to get off the couch.
Taking the file exported from Fusion 360 was then imported into Prusa Slicer. No supports or brim is needed fro the print, and prusa Slicer and Fusion both work in mm, so no values have to be changed when importing. That means all that was left to do was activate vase mode, slice the model, export the gCode and print it. I did this with ocotoprint since I was lazy and did not want to get off the couch.
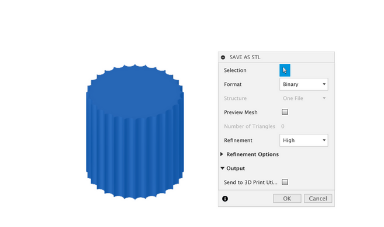 Exporting from Fusion 360
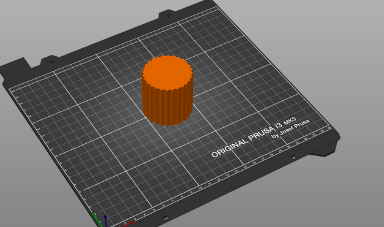 Importing into Prusa Slicer
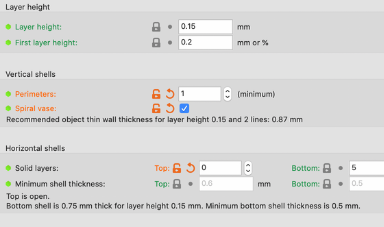 Vase Mode Prusa Slicer
 Sliced Vase in Prusa Slicer
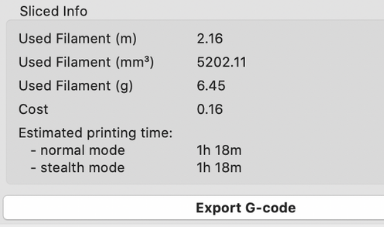 Exporting Print from Slicer
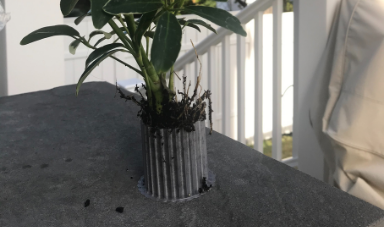 Completed and Printed Vase
Making a Watering Can
To make the watering can various different tools had to be used. Starting off an initial base was made and extruded to make the container portion of the watering can. Following that a tangetial plane was made to the cylinder, and a following offset plane at an angle was then made using that tangential plane. Using the plane at an agnle the spot, a circle, was extruded in both directions both towards and away from the can to make the spout. A parralel offset plane to the spout was then made for the rose. The spout was then loftwed to another profile on the roses plane to make the rose. The whole thing was then shelled, and then using circular pattern tool holes for the rose for the water to come out of were made. Finally the edge was filleted, and then the watering can was complete.
To make the watering can various different tools had to be used. Starting off an initial base was made and extruded to make the container portion of the watering can. Following that a tangetial plane was made to the cylinder, and a following offset plane at an angle was then made using that tangential plane. Using the plane at an agnle the spot, a circle, was extruded in both directions both towards and away from the can to make the spout. A parralel offset plane to the spout was then made for the rose. The spout was then loftwed to another profile on the roses plane to make the rose. The whole thing was then shelled, and then using circular pattern tool holes for the rose for the water to come out of were made. Finally the edge was filleted, and then the watering can was complete.
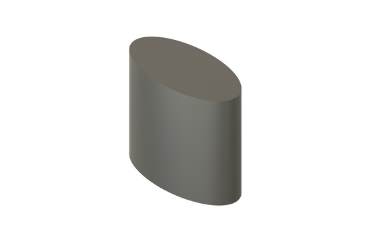 Container Portion of watering Can
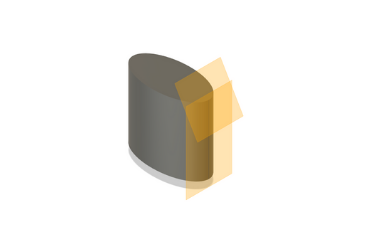 Making Offset Plant for Spout
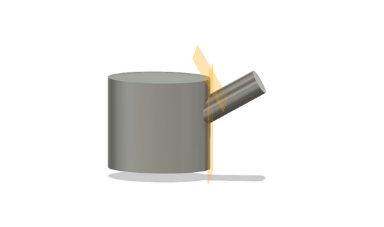 Used Template for Portfolio Page
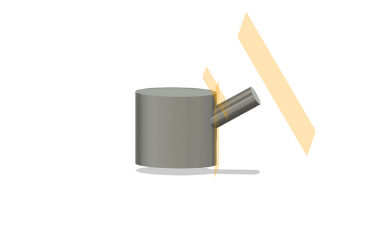 Rose offset Plane
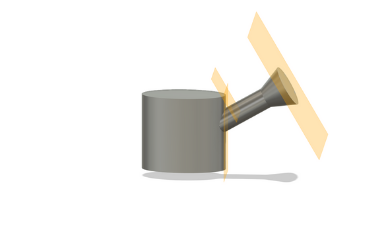 Loft Tool to Make Rose
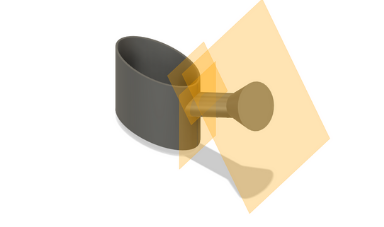 Shell the Watering Can
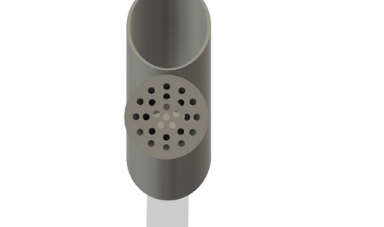 Rose Circular Pattern Tool
 Fillet Watering Can
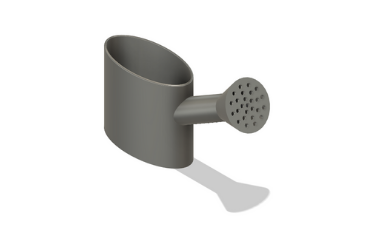 Finished Watering Can